How to use your phone as a camera in OBS Studio
OBS treats your phone the same way it treats any other camera, as long as something on the PC presents the phone as a camera first. Once that is true, the phone becomes a source you can crop, filter, mix with your screen, and switch between like any other.
This guide covers the setup, the second camera angle that is the real reason to bother, and the part that confuses almost everyone the first time: sending the result back out to Zoom or Meet.
The setup, in short
- Install TapCam on the PC and on the phone, and pair them by scanning the QR code the PC shows.
- In OBS, click + under Sources and choose Video Capture Device.
- Give it a name, then pick TapCam in the Device list.
- Set the resolution and frame rate, or leave it on Device Default.
- Click OK. The phone's picture is now a source in your scene.
If TapCam is not in the Device list, close OBS completely and reopen it. OBS builds its device list at startup, so a camera that appeared afterwards will not be there until it restarts. This is the most common cause of "it does not work" in this whole guide.
Why a phone is worth it as an OBS source
A phone is not just a webcam substitute in OBS. It gives you things a webcam cannot.
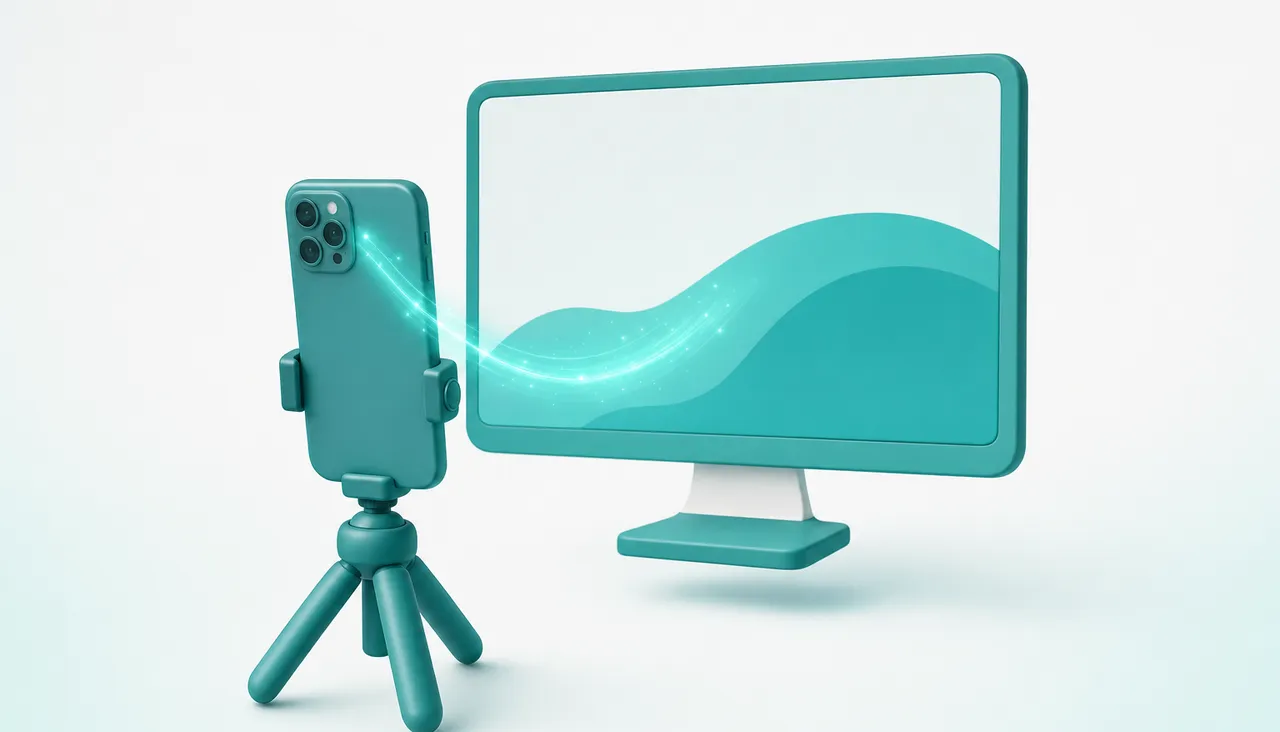
A second angle. This is the big one. Keep your webcam pointed at your face and put the phone on a small tripod aimed at your desk, your hands, a keyboard, a sketchpad, a soldering iron, a guitar neck. Two sources, two scenes, one hotkey to cut between them. Doing that with a second USB webcam means buying one and finding a place to clamp it; the phone is already in your pocket and already has a better lens.
A camera that can move. It is not tethered to the desk. On Wi-Fi you can put it anywhere in the room.
A better sensor. In a room that is not brightly lit, a recent phone beats most webcams outright, and the gap is obvious on a big preview.
Sending it back out to Zoom, Meet or Teams
This is the step that trips people up, so it is worth being precise about what is happening.
There are two virtual cameras in the chain, and they do different jobs.
- TapCam's camera carries the phone's picture into the PC. OBS reads it.
- OBS Virtual Camera carries whatever OBS is showing out of OBS. Zoom reads that.
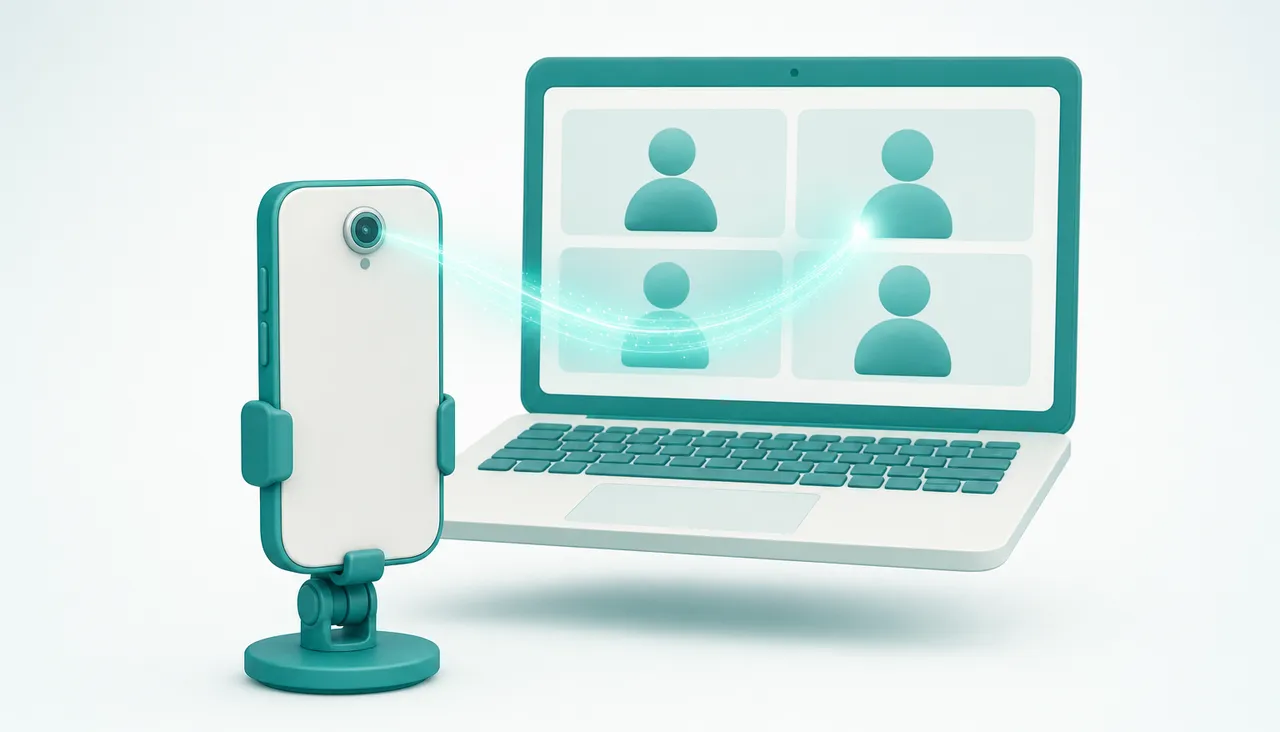
So the flow is: phone, then TapCam, then OBS, then OBS Virtual Camera, then your meeting.
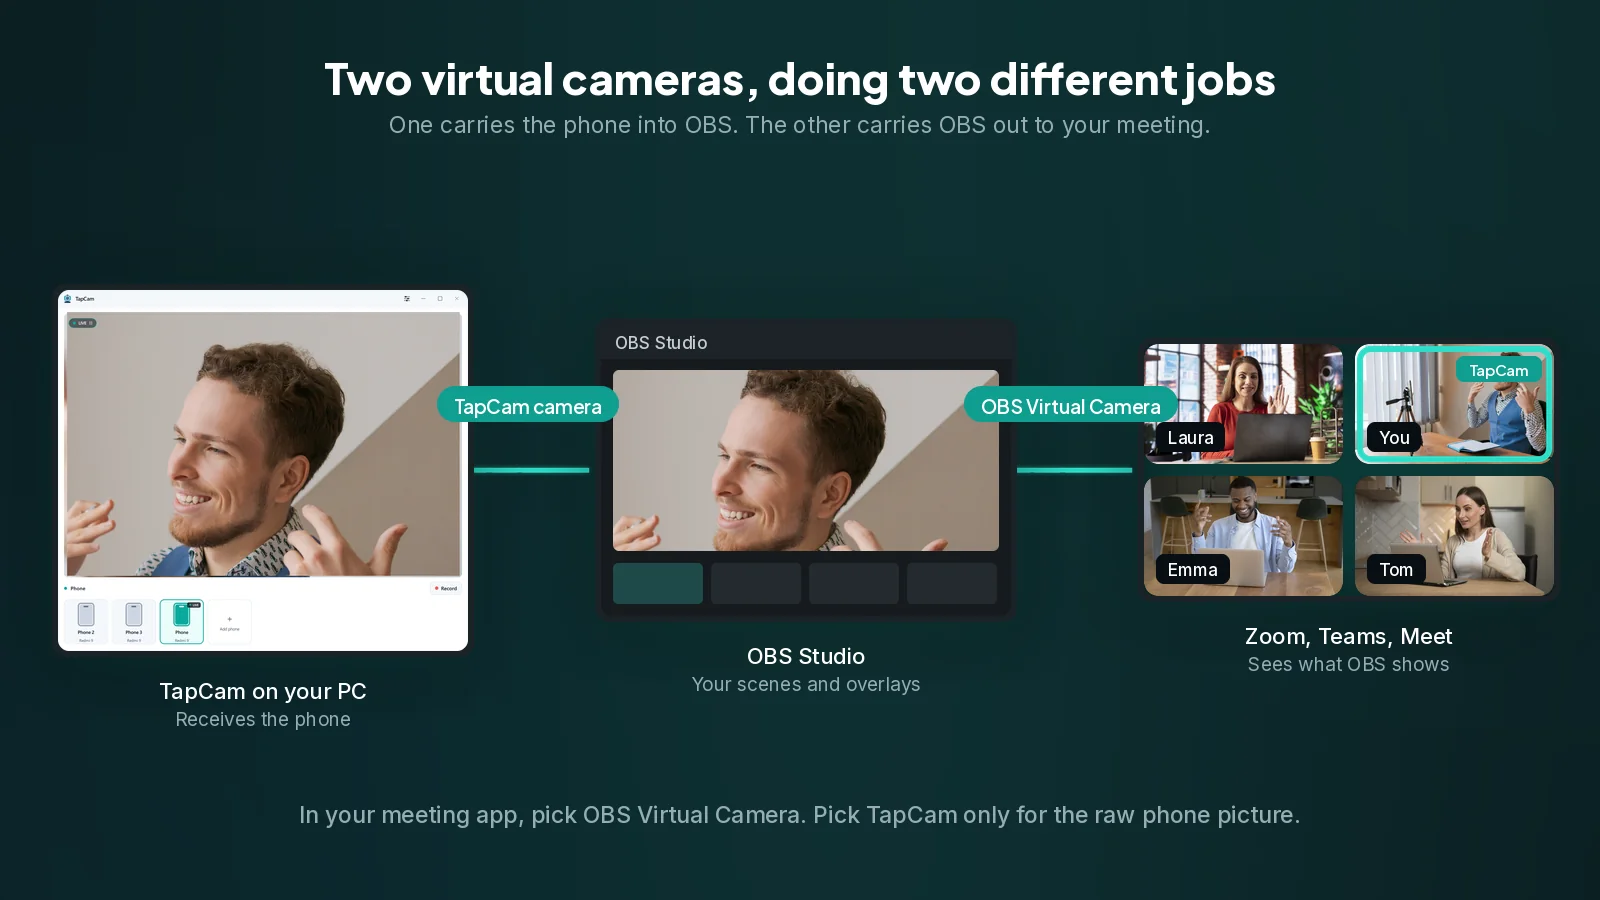
To turn the second one on, click Start Virtual Camera in the Controls panel at the bottom right of OBS. Then in Zoom, Teams, Meet or Discord, choose OBS Virtual Camera as your camera. Not TapCam, because you want what OBS is showing, filters and overlays and all.
Pick TapCam directly in the meeting app only when you want the raw phone picture with no OBS in between. Both are legitimate, they are just different things.
Resolution and frame rate
Leave the source on Device Default until you have a reason to change it, then be deliberate.
Higher is not automatically better. Every increase in resolution and frame rate costs bandwidth on the link and CPU on the PC, and a stream that stutters looks far worse than one at a lower resolution that is rock solid. 1080p at 30 frames per second is a sensible target for a talking head, and it is what most meeting apps will downscale anyway. Go to 60 frames per second only when the subject moves fast enough to justify it, like hands demonstrating something.
If you see stuttering, drop the frame rate before you drop the resolution. Motion judder is more noticeable than a slightly softer image.
Wi-Fi or the cable
For OBS specifically, lean toward the cable more than you would for a video call.
A meeting is forgiving. A dropped frame passes unnoticed in a conversation. A recording or a live stream is not forgiving, because the glitch is captured and stays there. A USB data cable gives you a dedicated link that nothing else on the network competes for, lower latency, and a phone that charges while it works, which matters over a long session.
Use Wi-Fi when the shot needs the phone somewhere a cable will not reach. What the cable actually buys you is one frame of buffering, about 33 milliseconds. Then keep both devices on the same network, prefer the 5 GHz band, and do a short test recording before anything that matters.
Framing, filters and the things worth setting once
- Crop rather than move the phone. Right-click the source, choose Filters, and add a Crop or Pad filter. It is faster than repositioning a tripod and it is repeatable.
- Rotate if the phone is sideways. Right-click the source, then Transform, then Rotate 90 degrees.
- Turn off the phone's beauty filters. Whatever softening the phone applies is baked into what OBS receives, and it cannot be removed afterwards.
- Lock the source once it is framed, so a stray click does not nudge it mid-stream.
- Match your canvas. If the phone is portrait and your canvas is landscape, decide whether you want pillarboxing or a crop, rather than letting OBS stretch it.
Streamlabs, and other OBS forks
Streamlabs, OBS Studio and the other forks all read Windows cameras the same way, so the setup above is identical: add a Video Capture Device and pick TapCam. The menu labels differ slightly, and the Virtual Camera button lives in a different corner, but the chain is the same.
When the source is black
A black rectangle where the picture should be usually means one of three things.
Another app has the camera. Windows gives a camera to one application at a time. If Zoom or the Camera app is holding TapCam, OBS gets nothing. Close the other one.
The phone is not actually streaming. Check the PC app first. If it shows no picture, the problem is upstream of OBS and the connection checklist is the place to look.
The source needs deactivating and reactivating. Right-click the source, choose Deactivate, then Activate. OBS holds a device handle open, and this releases and retakes it, which fixes a surprising number of odd states.
Beyond that, restarting OBS resolves most things, for the same reason it appears three times in this guide: the device list and the device handles are both established at startup.
Frequently asked questions
How do I add my phone to OBS?+
Pair the phone with the PC app, then in OBS add a Video Capture Device source and pick TapCam in the Device list. If it is not listed, restart OBS: it builds its device list at startup.
Should I pick TapCam or OBS Virtual Camera in Zoom?+
OBS Virtual Camera, if you want Zoom to see what OBS is showing, with your scenes and overlays. Pick TapCam directly only when you want the raw phone picture with no OBS in between. There are two virtual cameras in the chain and they do different jobs.
Can I use my phone as a second camera angle?+
Yes, and it is the best reason to do this. Keep the webcam on your face and put the phone on a small tripod aimed at your desk or your hands, then switch between two scenes with a hotkey.
Why is my phone source black in OBS?+
Usually another app is holding the camera, since Windows gives it to one application at a time. Otherwise the phone is not actually streaming, or the source needs deactivating and reactivating from its right-click menu to release and retake the device.
Wi-Fi or USB for OBS?+
The cable, whenever the shot allows it. A meeting forgives a dropped frame but a recording keeps it, and a cable gives a dedicated link, lower latency and a phone that charges while it works.